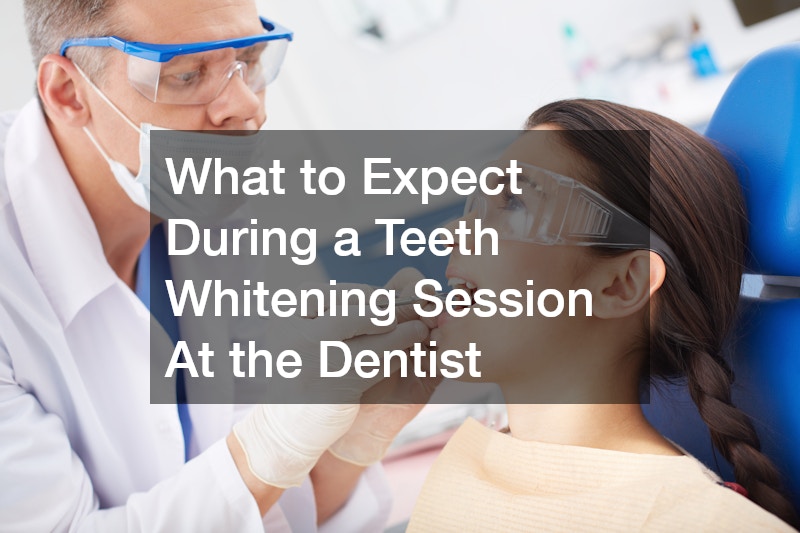
A bright, white smile is often associated with confidence and good oral hygiene, making professional teeth whitening a popular choice for those looking to enhance their appearance. In-office teeth whitening is a fast and effective method that delivers noticeable results in a single session. If you’re considering a professional treatment but aren’t sure what the process entails, this guide will walk you through what to expect during a teeth whitening session at the dentist.
1. The Consultation Appointment
Most dental offices begin with a consultation appointment before the actual whitening treatment. During this visit, your dentist will assess your teeth, discuss your goals, and set realistic expectations. They’ll explain how many shades lighter your teeth can go, based on factors like the natural color of your enamel and your lifestyle habits (e.g., coffee or wine consumption). This is also an opportunity to address any concerns about sensitivity or post-treatment care.
2. Preparation for the Whitening Treatment
On the day of your whitening session, your dentist or hygienist will begin by preparing your mouth. Here’s what to expect:
- Protecting the Lips: Vitamin E is often applied to your lips to prevent them from cracking or drying out during the procedure. This ensures comfort throughout the session.
- Mouth Retractor: A retractor is placed in your mouth to keep your lips and cheeks away from your teeth. Although it may feel awkward initially, it allows the dentist to work more efficiently and prevents the whitening gel from touching sensitive areas.
- Gauze and Cotton Rolls: To maintain a dry environment, gauze and cotton rolls are strategically placed in your mouth. These also help cover your salivary glands to minimize saliva flow during the procedure.
- Liquid Dam: A liquid dam is applied along the gum line. This rubber-like material protects your gums from the whitening gel, which contains strong chemicals that could irritate soft tissue. Once the dam is in place, a UV light is used to harden it, ensuring a secure barrier.
The preparation process only takes a few minutes but is essential for a safe and effective whitening session.
3. The Whitening Process

With your mouth prepped, the actual whitening begins. Here’s how it unfolds:
- Application of Whitening Gel: The dentist applies a professional-grade whitening gel to your teeth. This gel typically contains hydrogen peroxide or carbamide peroxide, which are highly effective at breaking down stains.
- Activation with Blue Light: A blue UV light is positioned to shine directly onto your teeth. This light activates the whitening gel, enhancing its effectiveness. Each session with the light usually lasts about 15 minutes.
- Rinse and Repeat: After the first 15-minute session, the whitening gel is suctioned off your teeth, and a fresh layer is reapplied for another round. Most in-office treatments involve two to three 15-minute sessions, depending on your teeth’s sensitivity and desired level of whitening.
During the treatment, you’ll need to remain still to ensure the equipment stays in place. Many offices provide entertainment like TV or recommend bringing headphones to keep yourself occupied.
4. Managing Sensitivity
It’s common to experience mild sensitivity during or after teeth whitening, particularly in the bottom front teeth. However, this sensitivity is usually temporary. If you notice discomfort in your gums during the treatment, inform your dentist immediately—they can adjust the barriers or use a desensitizing gel to alleviate the issue.
Some dental offices also offer take-home sensitivity relief gels, which can be applied after the procedure to soothe any lingering discomfort.
5. Post-Treatment Care
Once the whitening session is complete, the dentist will remove all barriers, rinse your mouth, and reveal your brighter smile. To maintain the results and avoid staining, follow these post-treatment tips:
- Avoid Staining Foods and Drinks: For the first 24 hours, steer clear of dark-colored foods and beverages like coffee, tea, red wine, and berries.
- Practice Good Oral Hygiene: Resume your regular brushing and flossing routine after the initial 24-hour period.
- Use Take-Home Whitening Kits (If Provided): Some dentists offer take-home whitening gels to help maintain your results. These kits are especially useful for touch-ups between in-office treatments.
6. Expected Results
The number of shades your teeth can lighten depends on factors such as the condition of your enamel and the type of stains being treated. On average, most patients see improvements ranging from one to ten shades lighter. Your dentist will discuss your individual results and provide recommendations for maintaining your new smile.
Why Choose In-Office Teeth Whitening?
Professional teeth whitening offers several advantages over at-home kits. These include:
- Faster Results: Significant whitening is achieved in just one session.
- Customized Care: The dentist tailors the treatment to your specific needs and ensures your safety throughout the process.
- Effective Stain Removal: Professional-grade whitening gels are more potent than over-the-counter products, delivering more noticeable results.
Final Thoughts
Teeth whitening at the dentist is a quick and effective way to achieve a brighter, more radiant smile. From the initial consultation to post-treatment care, the process is designed to ensure your safety and comfort while delivering impressive results. By understanding what to expect during the session, you can approach your appointment with confidence and look forward to enjoying your enhanced smile. Whether it’s for a special occasion or simply to boost your confidence, professional teeth whitening is a worthwhile investment in your oral aesthetics.
If you’re ready to transform your smile, schedule a consultation with your dentist today to discuss your options and take the first step toward achieving your dream smile.
